Vape settings, three steps for the device in your hand
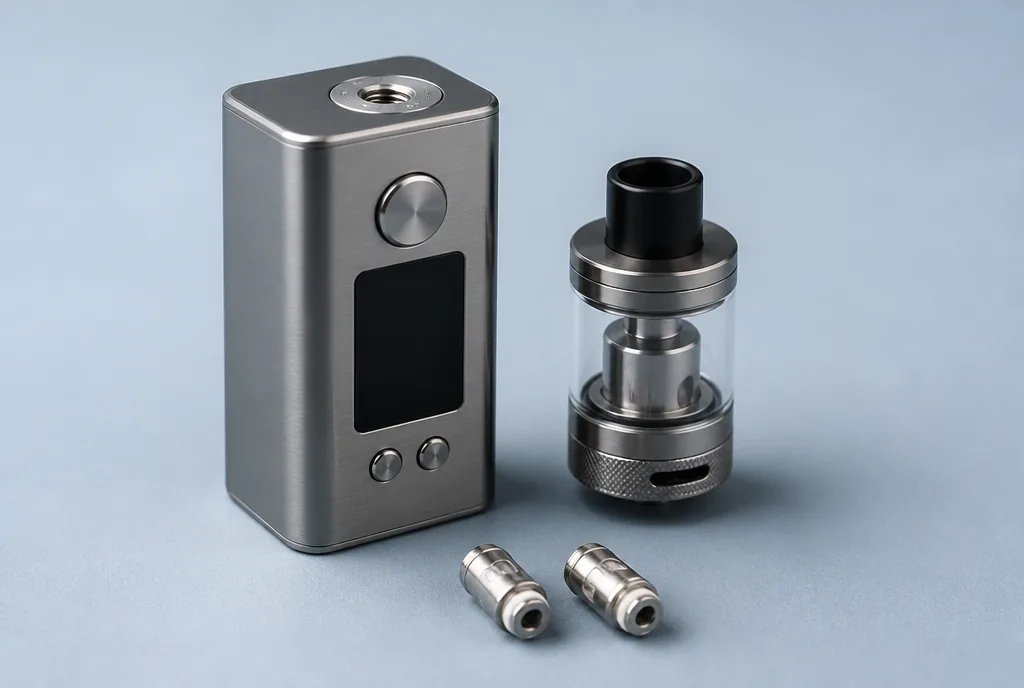
The kit is out of the box, the coil is in, and the screen shows numbers nobody has explained. Sometimes there is no screen at all, just three small lights and a button. Ask on a forum and the reply is often a single figure, “just run it at 20 watts”, offered without knowing which device the person asking is holding. Yet vape settings depend on the hardware first, and a number that suits one mod is wrong on a pod.
Vape settings, the short answer
Getting your vape settings right comes down to three steps, always in the same order. Read the coil value and the power range that goes with it, set the power inside that range starting from the bottom, then adjust the airflow to the draw you want.
What changes from one device to the next is how many of those steps it lets you take. A pod with no buttons leaves you one, the choice of coil. Devices with power levels leave two. The variable wattage mod leaves all three, and it asks for the most method.
Step one, read the coil before anything else
The coil is the part that heats the liquid. Its value, measured in ohms, governs both the power it accepts and the kind of draw it produces.
The recommended power range is often printed on the coil itself or on its box. The Voopoo PnP-VM1, at 0.3 ohm, is listed for 32 to 40 W, and the PnP-VM4, at 0.6 ohm, for 20 to 28 W, even though both fit the same pods. Changing coil therefore means changing the setting.
Above roughly 1 ohm, a coil is generally designed for mouth to lung vaping, a tight draw taken in two stages. The further the value drops below that mark, the more it is aimed at direct lung vaping, with plenty of air and more power.
At a given voltage, power equals the voltage squared divided by the resistance (P = V²/R). At 3.7 volts, the nominal voltage of a lithium ion cell, a 1 ohm coil receives about 13.7 W and a 0.3 ohm coil about 45.6 W, more than three times as much. So the coil is read first.
Step two, set the power inside the range
Power is set within the range, never above it, starting at the lower figure. The coil heats more gently there, the wick has time to soak up liquid between puffs, and there is room to go up.
A new coil has to be primed first, otherwise the dry wick scorches on the first fire and keeps a harsh taste. A few drops of liquid on the wicking holes, a filled tank and a few minutes of rest are enough, on the same principle as the priming described in our guide on how to wick a coil.
Judge the result over several puffs. If the flavour stays flat, go up slightly within the range; if it turns harsh, come back down.
Step three, open or close the airflow
Airflow means the openings that let air in under the coil, adjusted by a knurled ring at the base of the tank or by a slider on the pod. Wide open, it gives cooler, more diffuse vapour and a loose draw. Closed down, it tightens the draw, concentrates the vapour and makes it warmer.
The two settings answer each other. Low power with the airflow wide open produces lukewarm vapour short on flavour, while high power with the airflow shut produces vapour that is too hot. So set the power first, turn the ring until the draw feels right, and only then touch the power again.
How vape settings change from one device to another
The three steps apply to every device, but each family of devices takes some of them away. Four families turn up in starter kits.
No settings at all
Many pods fire when you inhale and have neither a power button nor a screen. The setting is then made when you choose the coil or the pod cartridge, since the device sends it a power level defined by the manufacturer. A model offered in two coil values therefore gives you two settings, and the airflow slider, where there is one, is the only step left.
Capacity and strength are not settings either. Under UK rules a refillable tank or pod holds no more than 2 ml, and nicotine e-liquid is sold in 10 ml bottles at no more than 20 mg/ml.
Devices with power levels
Other devices offer a few levels selected with a button and shown by small lights. The Vaptio Cosmo 2 kit has three, but what they deliver depends on the coil fitted. With the 1 ohm coil the three levels give 9, 11 or 13 W; with the 0.7 ohm coil they give 15, 20 or 25 W. The same light therefore does not mean the same power from one coil to the next.
This is the point generic guides tend to skip. A level is not a wattage, it is a position within the range of the coil in place. With a fresh coil, start on the first level.
Variable wattage mods
A screen mod shows the coil reading once the tank is on, then the power in watts, set with two buttons. It will also accept values the coil cannot handle. Compare the ohm reading on screen with the value marked on the coil, then set the power inside the range before the first puff.
A reading far from the marked value, or one that jumps between measurements, points to a contact or build problem, and our guide to the short circuit vape warning explains how to read it before firing.
Smart modes
On the Voopoo Drag X Pro, the SMART mode, shown by a yellow screen, detects the coil and offers a suitable power without letting you exceed its maximum. The RBA mode, in blue, opens the full range of the mod and is meant for experienced vapers, not beginners. Airflow stays manual in both modes.
One symptom, one adjustment
Once the three steps are done, further changes are decided by what you notice. The table matches each common symptom with its likely cause and the first adjustment to try.
| Symptom | Likely cause | Adjustment to try |
|---|---|---|
| Burnt taste on a new coil | Wick not yet soaked | Let it rest, restart at the bottom of the range |
| Burnt taste on a used coil | Power above the range, or a worn coil | Come down, then replace the coil |
| Lukewarm vapour, flat flavour | Low power, airflow very open | Close it slightly, then go up a little |
| Vapour too hot in the mouth | High power, airflow shut | Open the airflow before lowering the power |
| Gurgling, liquid in the mouthpiece | Flooded coil, power too low | Go up slightly within the range |
| Error message, no firing | Coil not seated, or a short | Disassemble and check first |
Adjusting vape settings follows one simple rule, one parameter at a time, otherwise you cannot tell which change fixed the problem. A burnt taste that survives two corrections usually means the coil needs replacing.
The limits no setting should cross
The top of the range is a limit, not a target. Beyond it the coil heats faster than the wick can refill, the cotton burns, and no amount of fiddling with vape settings will rescue a burnt coil.
Bypass mode, which passes the cell voltage through without regulation, RBA mode and mechanical mods, which have no electronics at all, have no place while learning. On a device with removable cells, the power you ask for also has to stay within the current the cell can deliver, a point covered in our vape coil build guide.
FAQ
Five questions that come up often and that the sections above do not cover.
Should the settings change with a different liquid?
The coil range stays the same, because it belongs to the coil and not to the liquid. A liquid high in vegetable glycerine is thicker, though, and soaks the wick more slowly. On a tight draw coil it makes sense to stay in the lower half of the range to avoid dry puffs.
Watts or volts, which should be adjusted?
Screen mods mostly work in power mode, expressed in watts, and calculate the voltage themselves from the measured resistance. Voltage mode survives on some models, but it means redoing the sum every time the coil changes, which serves no purpose for a beginner.
Is temperature control worth using at the start?
Rarely. It only works with a wire designed for it, as stated by the coil manufacturer, and it adds one more parameter to understand. Power mode covers everything a first device needs.
Why does the vapour weaken as the battery runs down?
A regulated mod holds the requested power for as long as the cell allows, then cuts out. On a simple unregulated device the voltage drops with the charge and the vapour weakens with it. In that case the setting has not moved, the battery needs charging.
Can the same setting be used on another device?
A wattage carries over from one mod to another with an identical coil, provided both show a similar reading. A power level does not carry over, because what it delivers depends on the device and on the coil fitted.
Good vape settings start with the coil
Everything follows from the order of the steps. The coil sets the range, the power sits inside it, the airflow fine tunes the feel, and each device takes some of those choices away.
Good vape settings are therefore never a number copied from a forum. They are read from the coil in place, checked on the screen where there is one and corrected one parameter at a time. That logic holds for a first kit and for the ones that follow, and it makes the rest of the hardware easier to understand, one idea at a time.
Editorial content for adult readers only. Vaping products can contain nicotine, a substance that causes addiction. Nicotine vaping products are not for sale to anyone under 18 in the UK. This article is not a buying recommendation.